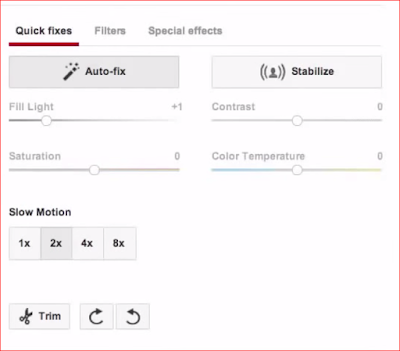
Special effects to your YouTube videos
Creating
and uploading videos on YouTube is one of the most effective methods of online
marketing. Fortunately, almost all the steps of video-marketing such as: Writing
the video script, Setting up the shooting area of the video, Recording the
video using Windows Movie Maker, Editing the video to remove extraneous bits and
defects, Adding transitions, titles, and captions, Adding background music,
and, Uploading the video to YouTube are quick, easy and extremely
cost-effective. Thousands of videos are uploaded onto YouTube and other
video-sharing websites
So it is crucial to create
high-quality videos that will have the desired impact.The best way to make
one's videos memorable and more effective is by adding titles, captions and video
transitions. (Video transitions are special effects that are inserted between
two pictures, video clips or titles.) All of these can be added easily in
Windows Movie Maker as part of the editing process of the video. Steps Before
Adding Titles, Captions, and Video Transitions Save the video file as a Movie
Maker Project File. Click on "File", and then click on "Save
Project As" in Windows Movie Maker and save the recorded video file. For
example, if you save the video file in "My Videos" as
"Video1", Windows saves it as"Video1.mswmm".Import the
Video File Into Windows Movie Maker Click "Import video" under
"Capture Video" and double-click on the video file already recorded.
For example, double-clicking on "Myvideo.wmm" in "My
Videos" will import it into the "Collections" area of Windows
Movie Maker. Drag the Imported Video File Into the Editing Section Select and
drag the video file from the "Collections" area into the video track
in the "Editing" section. The video file can now be seen in the
"Video" track (in the Timeline view) ready to be edited.Edit the
video in the "Timeline" view because it is easier to find the parts
that have to be removed inthis view. Here, click on "Add a title at the
beginning of the movie", which opens the "Enter Text for Title"
box .Enter the title of the video in the upper box. For example, "How to
Lose Weight Naturally”. In the box below it, add a subtitle, for example,
"Without Starving Yourself!" Two more options are displayed below:
"Change the title animation" "Change
the text font and color "Click on "Change the title animation"
and choose one of the options such as "Fade", "Ellipse
Wipe", "Mirror", "Scroll", "Banner", etc. Next,
click on "Change the text font and color", and choose one among the
following options: "Font" (for example, Verdana),"Bold, italic
or underline", "Color of font", "Background color","
Transparency", "Size of font", and "Left, center or right
text alignment" After selecting the above options, click on "Done,
add title to movie", which will add the title to the video. Finally, view
the title and subtitle of the video in the "Preview" and make any
changes, if desired. Adding Credits at the End of the Video Click on "Edit
Movie" and then "Make titles or credits". Click on "Add
Credits at the end of the movie", which opens the "Enter Text for
Title" box. Here, enter the text of the credits within the boxes in this
window


0 comments:
Post a Comment